Stop Fighting Your AI: How Agentation Bridges the Visual Gap for Coding Agents
Stop describing UI bugs to AI agents only to have them fix the wrong element. Agentation translates your clicks into precise DOM selectors that LLMs understand. Here's why it's the missing link in AI-assisted coding.
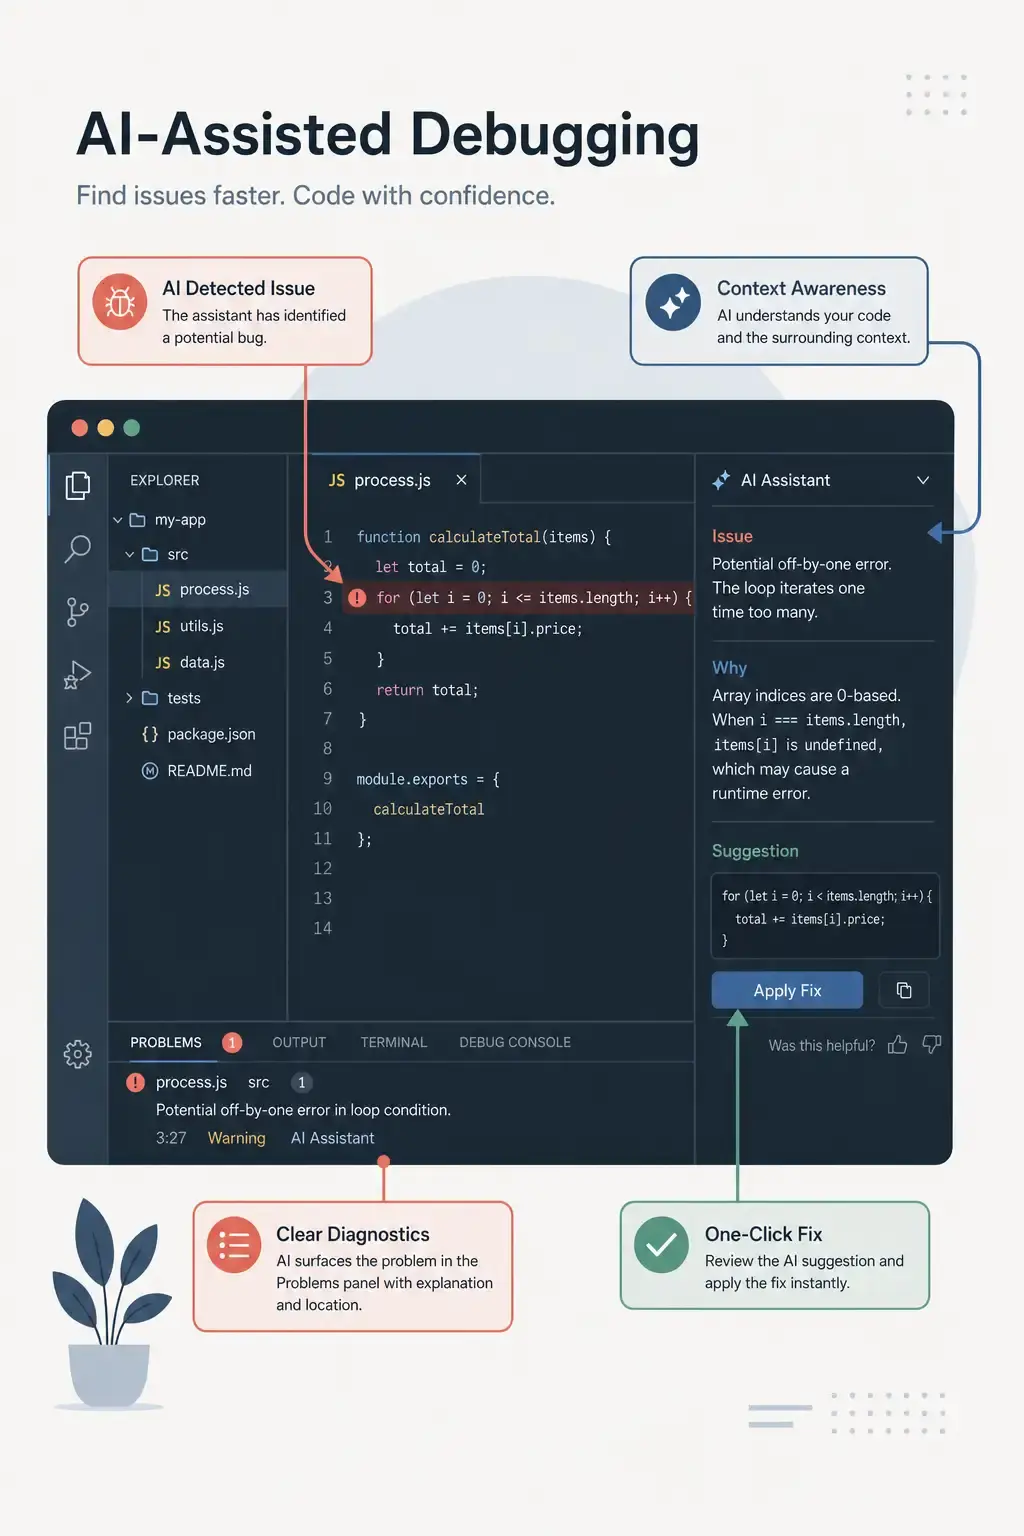
We have all been there. You are deep in a flow state, using Cursor, Windsurf, or just pasting code into Claude. You see a UI bug—a button that’s slightly misaligned or a padding issue on a card.
You type: “Fix the padding on that card in the dashboard.”
The AI replies confidently: “Done!”
You look at the preview. It added padding to the entire dashboard container, not the specific card you meant. Or worse, it hallucinated a class name that doesn’t exist.
The problem isn’t the AI’s coding ability; it’s the grounding problem. LLMs (Large Language Models) are text-based engines trying to understand a visual medium (the DOM). They don’t “see” your screen the way you do. Screenshots help, but they are token-heavy and often lack the structural context of the code.
Enter Agentation.
I stumbled upon this repository recently, and it struck a chord. It’s a visual feedback tool designed not for humans, but for agents. It translates your visual intent (clicking an element) into the language of LLMs (DOM selectors and component context).
Here is why this small tool might just be the biggest quality-of-life upgrade for your AI-assisted coding workflow this year.
The “Pointing Problem” in AI Development
Before we dive into the code, let’s define the friction point. When you work with a human designer, you can point your finger at a screen and say, “Move this pixel left.”
When you work with an AI, you have to play a game of “Guess Who”:
- “The blue button…”
- “…inside the sidebar…”
- “…specifically the one that says ‘Save’.”
If your HTML structure is complex (hello, Tailwind div soup), the AI often guesses the wrong nesting level.
Agentation solves this by injecting a feedback layer directly into your React app. When you click an element, it doesn’t just highlight it; it generates a structured Markdown snippet containing the exact CSS selector, the text content, and the screen position. You paste that into the AI, and suddenly, the AI knows exactly what you are talking about.
Getting Started: Installation and Setup
The beauty of Agentation is that it’s designed to be a “dev-only” dependency that sits quietly until you need it. It currently supports React 18+.
1. Installation
Add the package to your development dependencies.
# Using npm
npm install agentation -D

# Or using pnpm
pnpm add -D agentation
2. Integration
You need to mount the <Agentation /> component at the root of your application. A good practice is to conditionally render it so it never leaks into your production build.
Here is how I set it up in a standard Vite + React project:
import React from 'react';
import { Agentation } from 'agentation';
import { Dashboard } from './components/Dashboard';

// Simple check to ensure we only load this in dev mode
const isDev = import.meta.env.MODE === 'development';

function App() {
  return (
    <div className="app-container">
      <Dashboard />

      {/* The tool sits as an overlay on top of your app */}
      {isDev && <Agentation />}
    </div>
  );
}

export default App;
Once installed, you will see a small toolbar in the bottom-right corner of your browser window. It’s unobtrusive until you activate it.
The Workflow: From “Vague” to “Precise”
Let’s walk through a real scenario. I tested this on a dashboard layout where I had a grid of “User Cards.” I wanted to change the color of the “Status” badge inside the third card only when the user is inactive.
Without Agentation
I would have to take a screenshot, paste it into Claude, and say: “See the third card? The grey badge. Make it red if the user is inactive.”
Claude might try to target .badge globally, breaking every other badge on the site.
With Agentation
- Activate: I click the Agentation icon in the corner.
- Select: I click the specific “Status” badge on the third card.
- Annotate: A modal pops up. I type: “Change this to red when inactive.”
- Copy: I hit the “Copy” button.
Here is the magic. This is what Agentation puts in my clipboard:
## Context: User Card Badge
**Selector:** `.grid > .card:nth-child(3) > .header > .status-badge`
**Text Content:** "Inactive"
**Computed Styles:** color: rgb(100, 116, 139); background: rgb(241, 245, 249);
**User Note:** Change this to red when inactive.
(Note: The actual output format varies slightly based on version, but the core concept is providing the Selector + Context).
- Paste: I paste this block into Cursor’s chat.
Because the AI now has the exact CSS selector (.grid > .card:nth-child(3) > .header > .status-badge), it doesn’t guess. It writes code that targets that specific component structure.
Key Features That Stand Out
While the core “click-to-selector” feature is the main draw, the developer (Benji Taylor) added a few power-user features that show a deep understanding of frontend pain points.
1. Animation Freezing ❄️
This is my favorite hidden gem. Have you ever tried to debug a loading spinner or a “toast” notification that disappears after 3 seconds? By the time you try to inspect it or take a screenshot, it’s gone.
Agentation includes an Animation Pause feature. It freezes CSS animations in place, allowing you to click and annotate an element that is usually fleeting.
2. Area Selection
Sometimes the issue isn’t a specific DOM element, but a layout issue involving whitespace.
- “There is too much gap here.”
- “This area looks empty.”
You can drag to select an arbitrary area. The tool calculates the coordinates relative to the viewport, which helps the AI understand spatial relationships (“Oh, the user is pointing to the void between the header and the content”).
3. Multi-Select
You can select multiple elements at once. This is perfect for batch operations, like “Make all these buttons the same width.”
Why This Matters for “Agentic” Workflows
We are moving away from “Chatbots” and toward “Agents”—AI that can plan and execute multiple steps.
For an Agent to be effective, it needs Observation.
- Terminal Output lets the agent see errors.
- File System Access lets the agent see code.
- Agentation lets the agent see the DOM.
By providing the DOM path, you are essentially giving the Agent a map. Instead of saying “Go to the store,” you are giving it the GPS coordinates. This drastically reduces the “hallucination rate” where the AI modifies the wrong file or the wrong CSS class.
The “Context Window” Economy
There is also a cost argument here. Uploading high-resolution screenshots to an LLM consumes a massive amount of tokens (and money, if you’re paying per token).
A text-based representation of the UI (which Agentation provides) is incredibly cheap. You are conveying the same intent—“Fix this thing”—using 50 tokens of text instead of 5,000 tokens of image data. It’s faster, cheaper, and often more accurate.
Limitations and Critique
No tool is perfect, and Agentation is still in its early stages. Here are a few things to keep in mind before you adopt it.
1. React Lock-in
Currently, this is a React-specific tool. If you are building with Vue, Svelte, or vanilla HTML/JS, you are out of luck for now. The concept, however, is framework-agnostic, so I expect ports to appear if the tool gains traction.
2. Mobile Support
The documentation explicitly states “Desktop browser (mobile not supported).” If you are debugging a mobile-responsive view on your phone, you can’t use this. However, using Chrome’s mobile emulation mode on desktop works fine.
3. The License (PolyForm Shield)
This is crucial for enterprise users. The project uses the PolyForm Shield 1.0.0 license.
- What it means: You can use it freely for internal development.
- The Catch: You cannot launch a competitor to Agentation using its code. If you are building a “Visual Feedback Tool for AI,” you can’t fork this repo to jumpstart your product. For 99% of developers just building apps, this license is perfectly fine.
Practical Tips for Best Results
If you decide to integrate Agentation into your workflow, here are a few tips to get the most out of it:
- Combine with “Composer” Mode: If you use Cursor’s “Composer” (Ctrl+I) or Windsurf’s “Cascade,” paste the Agentation output there. These modes can edit multiple files. The precise selectors help them navigate your component tree.
- Be Specific in Notes: The tool lets you add notes. Don’t just click. Add a note like “This margin should be 16px, matching the design token
spacing-4.” The more context you bundle with the selector, the better the AI performs. - Use for Refactoring: It’s not just for bugs. Click a legacy component and tell the AI: “Refactor this specific element to use our new Button component.” The selector ensures it replaces the correct instance.
Final Verdict
Agentation is a clever solution to a very modern problem. As we shift from writing code manually to directing AI agents, our tooling needs to shift from “text editors” to “context providers.”
It bridges the gap between the visual reality of a webpage and the text-based reality of an LLM. If you find yourself constantly fighting with your AI assistant about where a change should happen, this tool is an immediate install.
It turns the vague “Make it pop” into the precise .hero > .cta-button { box-shadow: ... }. And that is a language every AI understands.
Resources:
Reader Dispatches
No reader responses yet. Share your technical perspective below.
Related Posts
Moltbot & The Rise of Local Agents: 500+ Ways to Give AI Control
Moving from chatbots that talk to agents that act. A deep dive into the Moltbot ecosystem with 565+ local skills—from Docker deployment to grocery ordering.
Claude Code: The Definitive Engineering Guide (Beyond the Hype)
Stop treating Claude Code like a chatbot. Master agentic workflows, CLAUDE.md memory systems, parallel sub-agents, and CI/CD integration that change how you ship software.
Stop Babysitting Your Terminal: A Deep Dive into 'Happy' and the Future of Remote AI Agent Control
Stop staring at your terminal while AI agents run. Happy is an open-source tool that lets you monitor and control Claude Code from your phone. Here's the technical breakdown and security analysis.