How to Set Up a Complete Local AI Stack with Ollama and Open WebUI in 2026
A step-by-step tutorial for running AI models on your own hardware using Ollama and Open WebUI — no cloud subscriptions, no data leaving your machine.
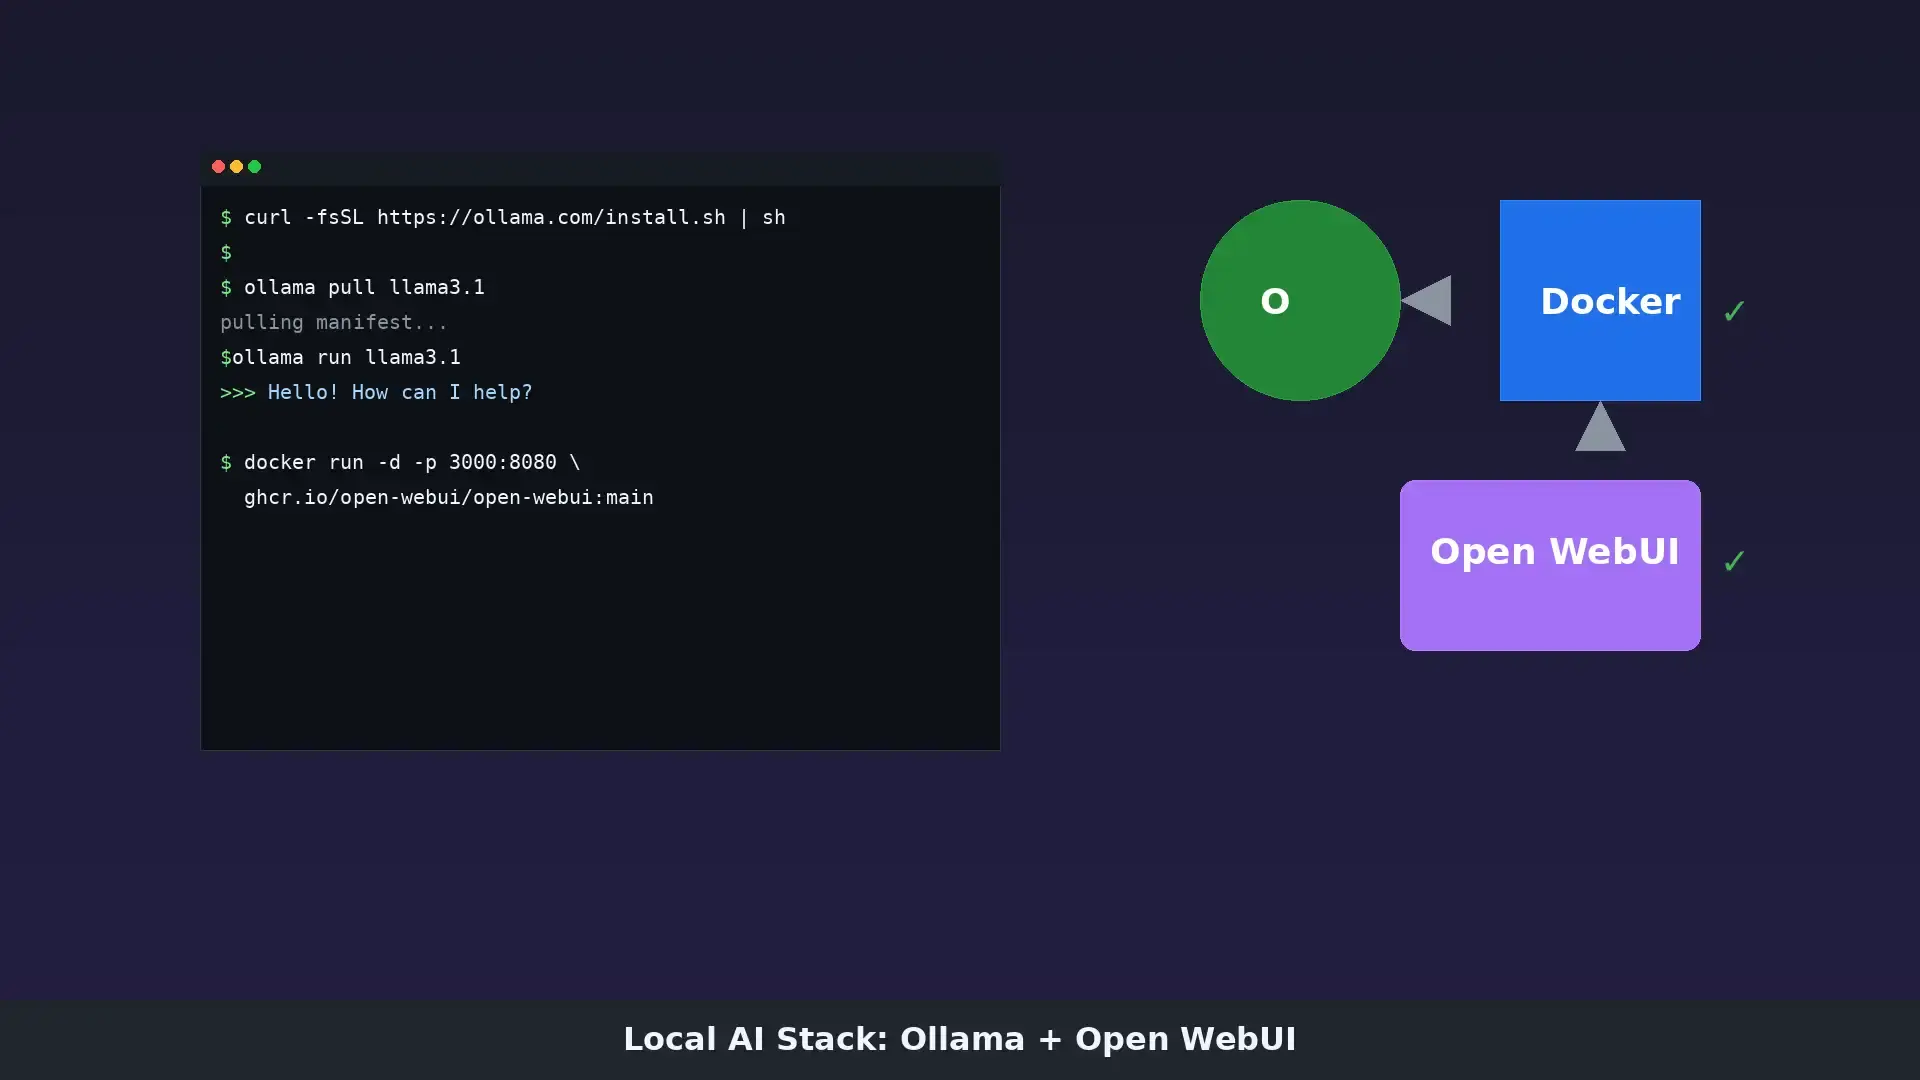
Running AI models locally used to mean wrestling with CUDA drivers, compiling Python packages from source, and praying your GPU didn’t catch fire. In 2026, the experience is dramatically different. Tools like Ollama and Open WebUI have turned what used to be an afternoon of troubleshooting into a 15-minute setup that anyone with a decent computer can handle.
This tutorial walks through the complete process: installing Ollama, pulling your first model, deploying Open WebUI as a chat interface, and connecting everything together. By the end, you’ll have a fully functional local AI stack that runs without internet access and keeps your data on your own hardware.
What you’ll need
Before starting, make sure you have:
- A computer running Linux, macOS, or Windows with at least 16GB of RAM (8GB works for smaller models, but 16GB gives you room to run 7B parameter models comfortably)
- An internet connection for the initial download (Ollama models range from 4GB to 40GB depending on size)
- About 20GB of free disk space for Ollama, Docker, Open WebUI, and one or two models
- Optional but recommended: An NVIDIA GPU with at least 6GB of VRAM for faster inference
That last point matters more than you’d think. CPU inference works fine for smaller models, but once you start running 7B or 13B parameter models, a GPU makes the difference between a 5-second response and a 30-second response. If you don’t have a discrete GPU, don’t worry — everything in this tutorial works on CPU alone. It’s just slower.
Step 1: Install Ollama
Ollama is the engine that downloads and runs AI models locally. The installation is a single command on every platform.
On Linux (Ubuntu/Debian):
curl -fsSL https://ollama.com/install.sh | shThat’s it. The script detects your system, installs the binary, sets up a systemd service, and configures GPU support if an NVIDIA GPU is detected. You can verify the installation by running:
ollama --versionOn macOS:
Download the installer from ollama.com and run it like any other application. Alternatively, if you use Homebrew:
brew install ollamaOn Windows:
Download the installer from ollama.com. It installs like any standard Windows application and adds Ollama to your PATH automatically.
After installation, Ollama starts a background service that listens on localhost:11434. You won’t see a window or interface — it’s a headless service that other applications connect to.
Step 2: Pull and run your first model
With Ollama installed, downloading a model is straightforward. Open a terminal and run:
ollama pull llama3.1This downloads Meta’s Llama 3.1 8B model (about 4.7GB). Once the download completes, you can start chatting with it immediately:
ollama run llama3.1You’ll see a prompt where you can type messages and get responses. It’s a basic text interface, but it confirms everything is working.
For a lighter option that runs well on machines with 8GB of RAM, try:
ollama pull phi3
ollama run phi3
Phi-3 is Microsoft’s smaller model (3.8B parameters) that performs surprisingly well for its size, especially on coding and reasoning tasks.
Some useful Ollama commands to know:
# List all downloaded models
ollama list

# Show model details (size, parameters, quantization)
ollama show llama3.1

# Remove a model to free disk space
ollama rm phi3

# Run a model with specific settings
ollama run llama3.1 --temperature 0.7
If you want to see what models are available, browse ollama.com/library. The most popular options include Llama 3.1, Mistral, Gemma 2, Qwen 2.5, and DeepSeek Coder.
Step 3: Install Docker
Open WebUI runs as a Docker container, so you need Docker installed on your system. If you already have Docker, skip to Step 4.
On Linux:
# Update package index
sudo apt update

# Install Docker
sudo apt install docker.io -y

# Enable Docker to start on boot
sudo systemctl enable docker

# Add your user to the docker group (avoids needing sudo for docker commands)
sudo usermod -aG docker $USER

# Log out and back in for the group change to take effect
On macOS and Windows:
Download and install Docker Desktop. It handles everything automatically.
To verify Docker is working:
docker --version
docker run hello-world
The second command downloads a tiny test image and runs it. If you see “Hello from Docker!” in the output, you’re good to go.
Step 4: Deploy Open WebUI
Open WebUI is a self-hosted chat interface that connects to Ollama and gives you a ChatGPT-like experience running entirely on your machine. Deploying it is a single Docker command:
docker run -d \
  -p 3000:8080 \
  --add-host=host.docker.internal:host-gateway \
  -v open-webui:/app/backend/data \
  --name open-webui \
  --restart always \
  ghcr.io/open-webui/open-webui:main
Let’s break down what each flag does:
-druns the container in the background (detached mode)-p 3000:8080maps port 3000 on your machine to port 8080 inside the container--add-host=host.docker.internal:host-gatewaylets the container reach Ollama running on your host machine-v open-webui:/app/backend/datapersists your chat history and settings in a Docker volume--restart alwaysautomatically restarts the container if it crashes or your machine reboots
After a minute or two (the first run downloads the Open WebUI image), open your browser and navigate to http://localhost:3000.
You’ll be prompted to create an admin account. This is local — nothing is sent to any server. Choose a username and password, and you’re in.
Step 5: Connect Open WebUI to Ollama
Once you’re in the Open WebUI interface, click the model selector dropdown at the top of the chat. If Ollama is running and accessible, you should see the models you pulled in Step 2 listed there.
If the models don’t appear, check these common issues:
-
Ollama isn’t running. Start it with
ollama serveor check that the systemd service is active:systemctl status ollama -
Docker can’t reach Ollama. The
--add-hostflag in the Docker command should handle this, but if you’re on an older Docker version, try adding--network hostinstead of the port mapping. -
Firewall blocking the connection. On Linux, make sure port 11434 is accessible:
sudo ufw allow 11434
Once connected, you can select any Ollama model from the dropdown and start chatting. Open WebUI adds features like conversation history, system prompts, file uploads (for models that support it), and a clean interface that makes local AI feel polished.
One thing worth configuring right away is the default system prompt. In Open WebUI’s settings, you can set a system prompt that applies to every new conversation. Something like “You are a helpful assistant. Be concise and direct in your responses” gives you a good baseline without having to type it every time.
You can also create custom model presets. If you find yourself repeatedly adjusting temperature or system prompts for different use cases — one for coding, one for writing, one for analysis — save them as presets in Open WebUI so you can switch between them with a click.
Step 6: GPU acceleration (optional but recommended)
If you have an NVIDIA GPU, you can dramatically speed up model inference by enabling GPU support in Docker. This requires the NVIDIA Container Toolkit.
On Linux:
# Add NVIDIA package repository
curl -fsSL https://nvidia.github.io/libnvidia-container/gpgkey | sudo gpg --dearmor -o /usr/share/keyrings/nvidia-container-toolkit-keyring.gpg

curl -s -L https://nvidia.github.io/libnvidia-container/stable/deb/nvidia-container-toolkit.list | \
  sed 's#deb https://#deb [signed-by=/usr/share/keyrings/nvidia-container-toolkit-keyring.gpg] https://#g' | \
  sudo tee /etc/apt/sources.list.d/nvidia-container-toolkit.list

sudo apt update
sudo apt install nvidia-container-toolkit -y

# Restart Docker
sudo systemctl restart docker
After installing the toolkit, restart the Open WebUI container with GPU access:
docker stop open-webui
docker rm open-webui

docker run -d \
  -p 3000:8080 \
  --add-host=host.docker.internal:host-gateway \
  --gpus all \
  -v open-webui:/app/backend/data \
  --name open-webui \
  --restart always \
  ghcr.io/open-webui/open-webui:main
The key addition is --gpus all, which passes your GPU to the container. Ollama will automatically detect and use the GPU for inference.
To verify GPU acceleration is working, run a model in Open WebUI and check the Ollama logs:
journalctl -u ollama -fYou should see lines indicating CUDA is being used for computation.
Step 7: Recommended models for different use cases
Choosing the right model depends on your hardware and what you want to do. Here’s a practical guide:
For general chat and writing (8GB+ RAM):
llama3.1:8b— Meta’s best small model, good at everythingmistral:7b— Fast and capable, great for quick responses
For coding (16GB+ RAM):
deepseek-coder:6.7b— Excellent at code generation and explanationqwen2.5-coder:7b— Strong multi-language coding support
For analysis and reasoning (16GB+ RAM):
llama3.1:13b— Noticeably smarter than the 8B versionmixtral:8x7b— Mixture of experts, good at complex reasoning (needs ~24GB)
For resource-constrained systems (8GB RAM):
phi3:3.8b— Microsoft’s efficient small modelgemma2:2b— Google’s ultra-lightweight option
For GPU-rich setups (24GB+ VRAM):
llama3.1:70b— Close to GPT-4 level performancemixtral:8x22b— Large mixture of experts model
Pull multiple models and experiment. One of Ollama’s strengths is how easy it is to switch between models — you’re not locked into a single choice. A practical approach is to keep two or three models installed: one lightweight model for quick tasks (Phi-3 or Gemma 2B), one mid-range model for daily use (Llama 3.1 8B or Mistral 7B), and one larger model for complex work when you have the RAM to spare.
You can also run different models for different purposes simultaneously. Open WebUI lets you switch models mid-conversation, so you can start with a fast small model for simple questions and switch to a larger one when you need deeper analysis.
Troubleshooting common issues
Even with a straightforward setup, a few issues come up regularly. Here’s how to handle the most common ones:
“Connection refused” when Open WebUI can’t reach Ollama:
This usually means Ollama isn’t listening on the right interface. By default, Ollama only listens on 127.0.0.1 (localhost). When Docker tries to connect from inside a container, it needs Ollama to listen on 0.0.0.0 (all interfaces). Fix this by editing the Ollama systemd service:
sudo systemctl edit ollamaAdd these lines in the override section:
[Service]
Environment="OLLAMA_HOST=0.0.0.0"
Then restart:
sudo systemctl restart ollamaModels disappear after restarting Docker:
This shouldn’t happen if you’re using the -v open-webui:/app/backend/data flag, which persists data in a Docker volume. If it does happen, check that the volume still exists with docker volume ls. If the volume was accidentally removed, you’ll need to recreate your account, but Ollama models are stored separately and won’t be affected.
Slow responses on CPU:
If inference feels sluggish, try a smaller model. The difference between running Llama 3.1 8B and Phi-3 3.8B on CPU is significant — the smaller model might be three to four times faster. For many tasks, the speed improvement matters more than the marginal quality improvement.
Docker permission errors on Linux:
If you see “permission denied” when running Docker commands, you probably haven’t logged out and back in after adding yourself to the docker group. Alternatively, use sudo before Docker commands until you’ve restarted your session.
Keeping everything updated
Both Ollama and Open WebUI release updates regularly. To update Ollama:
# Linux
curl -fsSL https://ollama.com/install.sh | sh

# macOS (Homebrew)
brew upgrade ollama
To update Open WebUI:
docker pull ghcr.io/open-webui/open-webui:main
docker stop open-webui
docker rm open-webui
# Re-run the docker run command from Step 4
Your chat history and settings are preserved in the Docker volume, so updating doesn’t lose anything.
What this setup gives you
A local AI stack means several things that cloud-based alternatives can’t match. Your conversations never leave your machine. There’s no subscription fee — once you’ve downloaded a model, it’s yours to use indefinitely. You can run as many conversations as your hardware can handle without hitting rate limits or paying per token.
The tradeoff is clear: local models are generally less capable than the largest cloud models (GPT-4, Claude Opus). A 7B parameter model running on your laptop won’t match GPT-4 on complex reasoning tasks. But for coding assistance, writing support, summarization, and everyday chat, the gap has narrowed significantly in the last two years.
For many people, the privacy and cost benefits outweigh the capability gap. And as open-source models continue to improve — Llama 4 is expected later this year — that gap will keep shrinking.
Reader Dispatches
No reader responses yet. Share your technical perspective below.
Related Posts
Build a Local AI Voice Assistant with Whisper, Ollama, and Piper: A Complete 2026 Tutorial
Step-by-step guide to creating a fully offline voice assistant using OpenAI Whisper for speech recognition, Ollama for LLM inference, and Piper for text-to-speech.
Run a Local Agent Stack With LM Studio Bionic
LM Studio Bionic adds MCP apps, project files, and a local-or-cloud model switch on top of the old chat window. Here is how to pick a model for your RAM and stop sending the repo to a subscription API.
Build AI Agents with n8n: A Complete 2026 Tutorial
Learn to build AI agents with n8n from scratch. Connect LLMs, add memory, integrate tools, and deploy production-ready agent workflows.